
When stories aren’t enough, you need some activities in the back seat to keep little hands (and minds) busy. But too much time looking down (be it at a screen or a coloring book) can challenge even the toughest tummy.
We came up with a way to make (halloween-themed) window clings that could be used on the windows at home—and in the car!
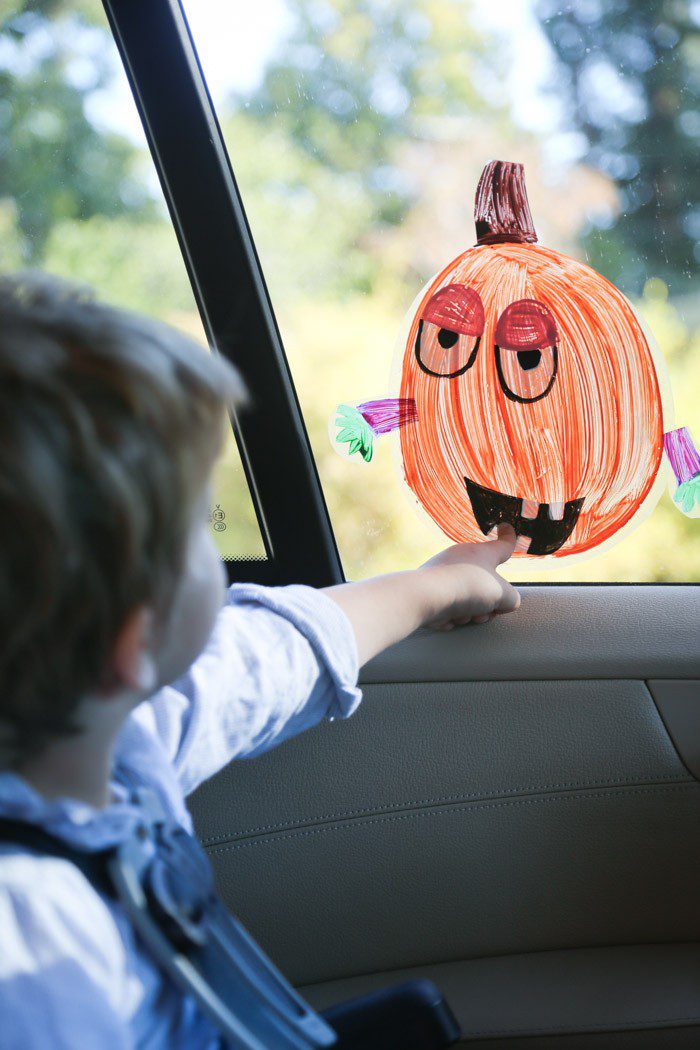
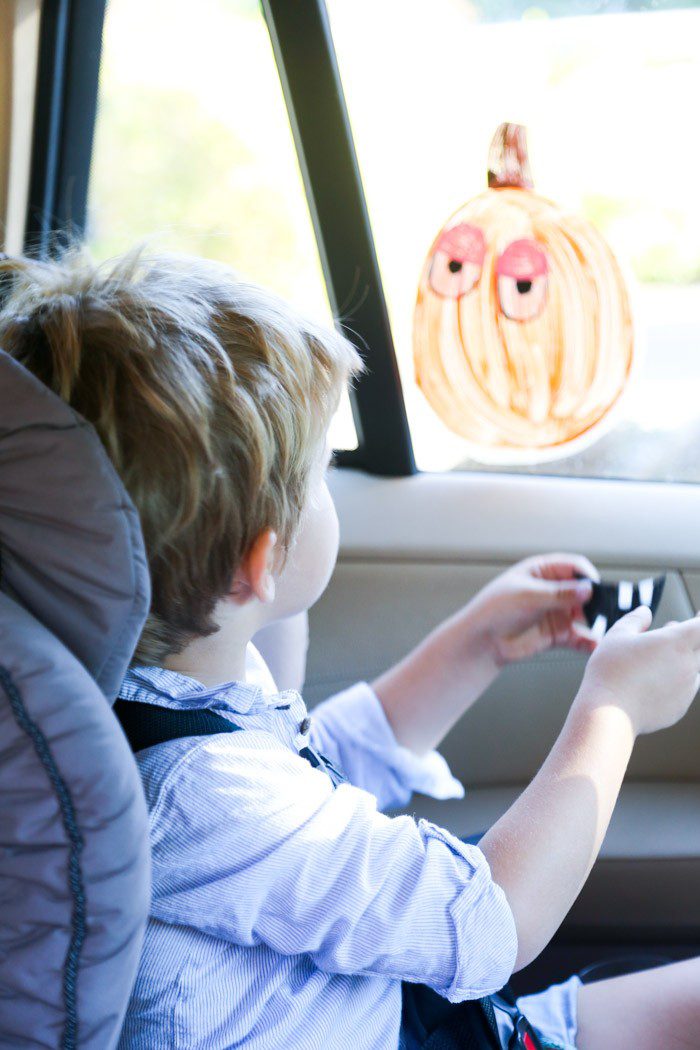
Hudson was very curious about what people in passing cars thought of his creation. “What she say to my pumpkin?” he’d ask!
You’ll Need:
- Contact paper
- Sharpie
- Acrylic paint
- Paint brushes(and/or stamps, sponges, Q-tips… finger-tips)
- Scissors
- A surface for painting on, and some water/paper towels for clean-up.
- Parchment or Wax paper (optional) to store your clings.

The key to this project is contact paper! Contact paper goes on and off glass easily, and can be used over and over again as long as you keep it clean. You can paint it, place stickers on it, or color it with indelible markers (like sharpies). It’s incredibly versatile and easy to find. Once you have a roll in your home, you can make your own window clings—essentially reusable stickers—for any season.
How-to:
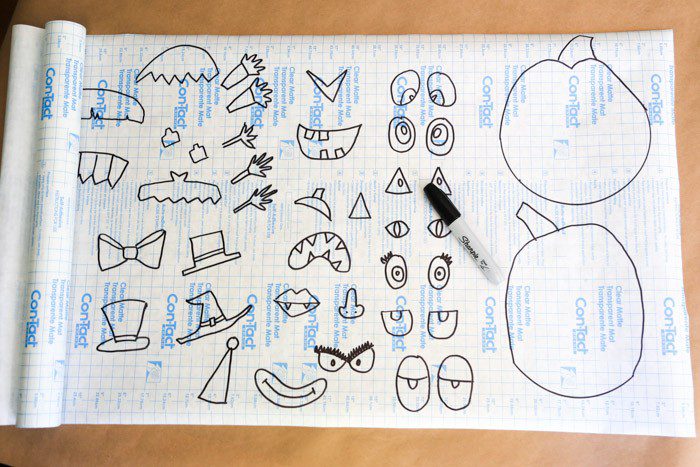
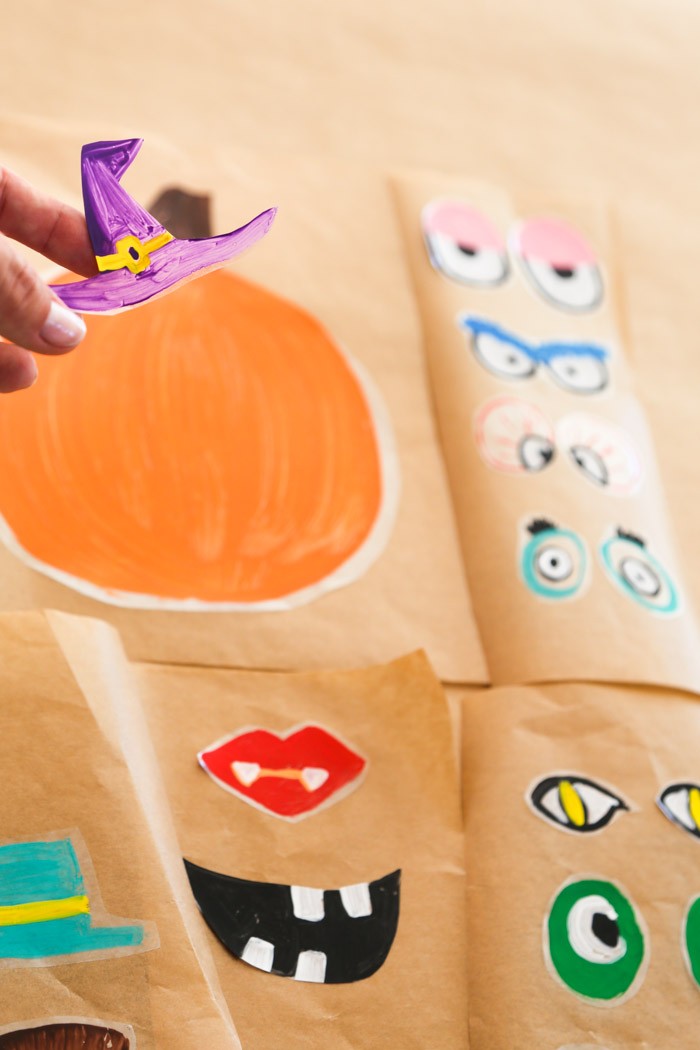
1. Outline your images. You can free draw directly on the surface (non-sticky side) of the Contact Paper, but I find it easiest to outline images on the backing and then paint or color them in on the surface. In our case, I drew some pumpkins and spooky facial features (à la Mr. Potato Head) as well as some general monster shapes.
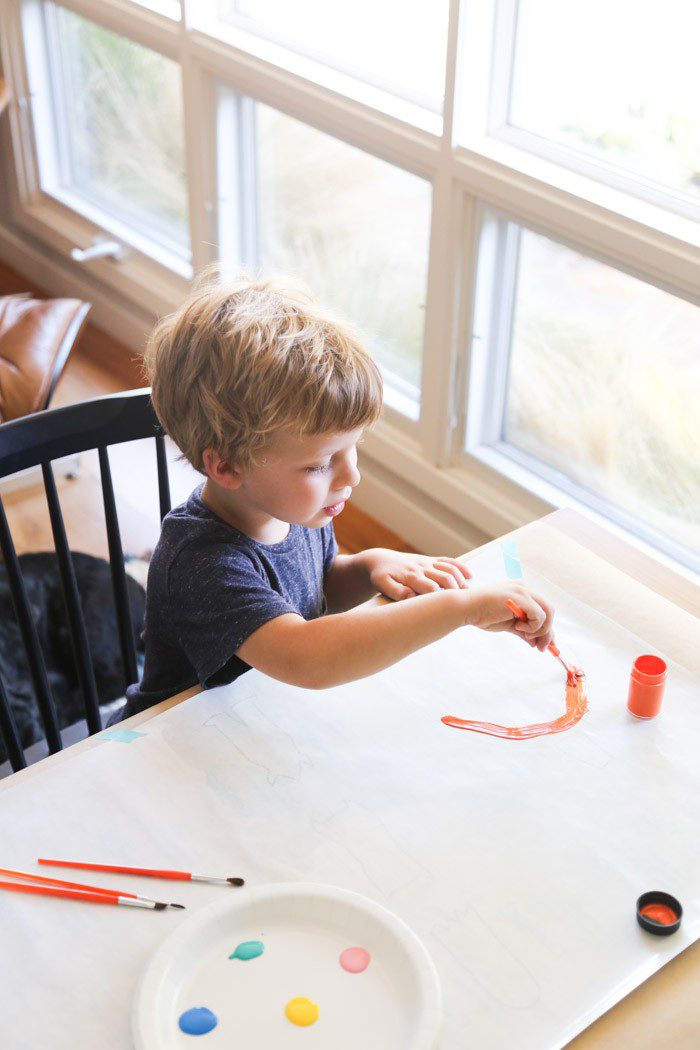
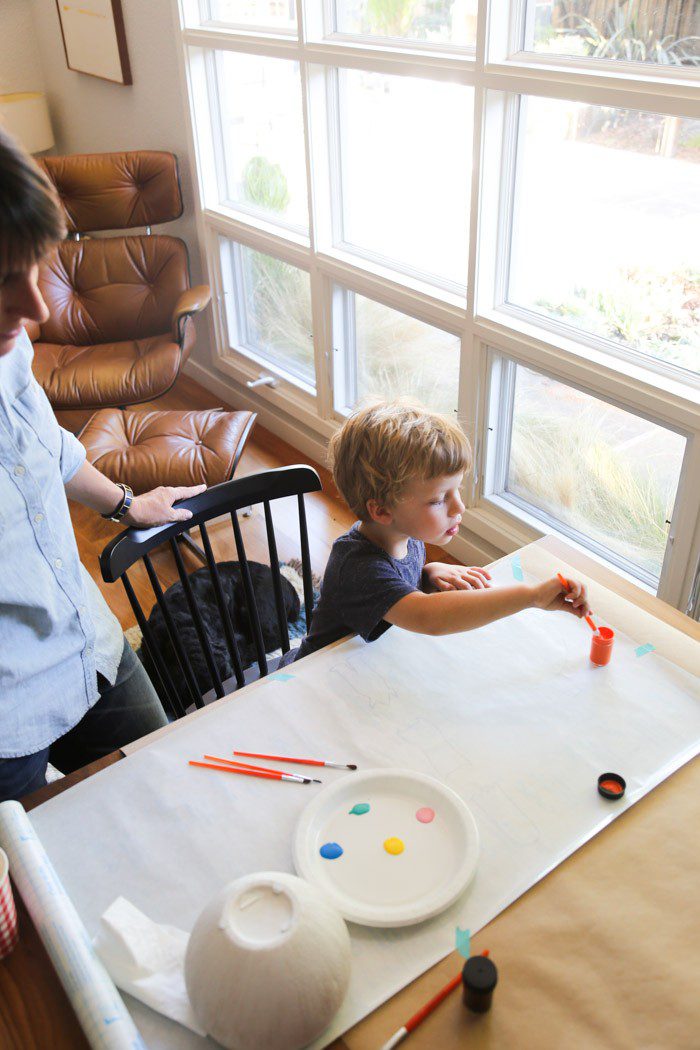
2. Paint (or color) the surface. Flip over the contact paper and use your outlines to guide you. Hudson filled in the pumpkins and the monsters, but I painted all of the features and accessories for the pumpkins for him to play with later. (He’s only three, so his art tends toward the more abstract.)
Older kids can do all of this themselves and may even prefer to use markers to color the images (it’s a faster process), but washable and non-toxic acrylic paint is preferable for most little kids.
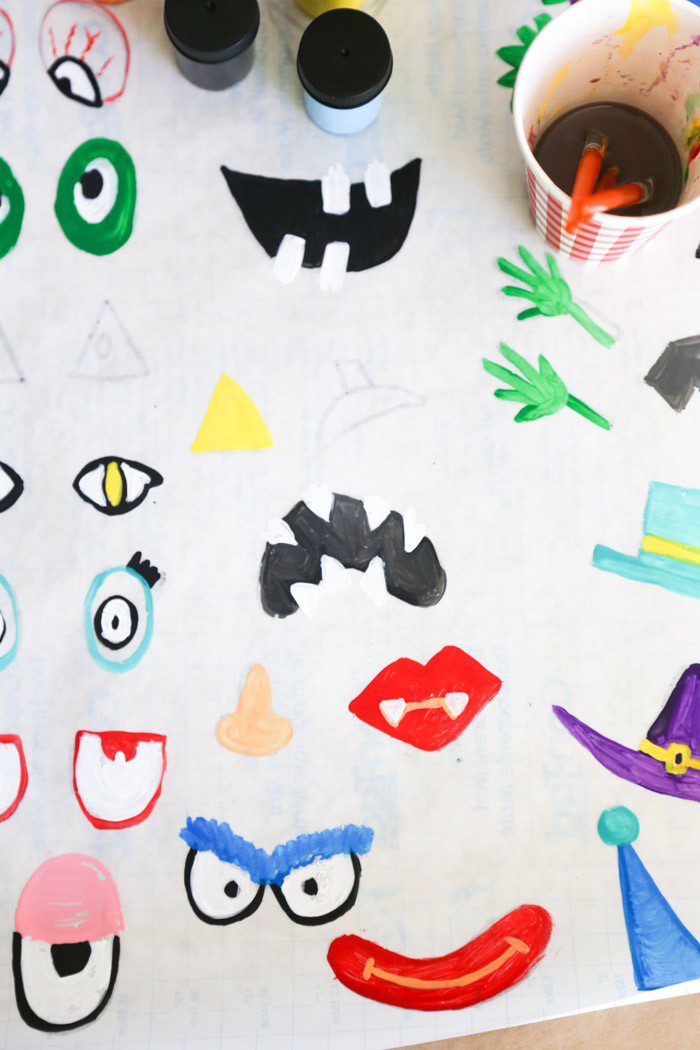
The less paint you use, the more light will shine through and the faster the paint will dry. However, if you are going to decorate a pumpkin, like Hudson did, the face will show up best on a more solidly painted surface.
Note: Don’t worry if the color doesn’t follow the lines exactly. Because you will be cutting the shapes out with scissors, you can either cut along the lines or correct then.
3. Allow for drying time. Acrylic paint, if not too thick, dries pretty quickly—within maybe an hour or so.
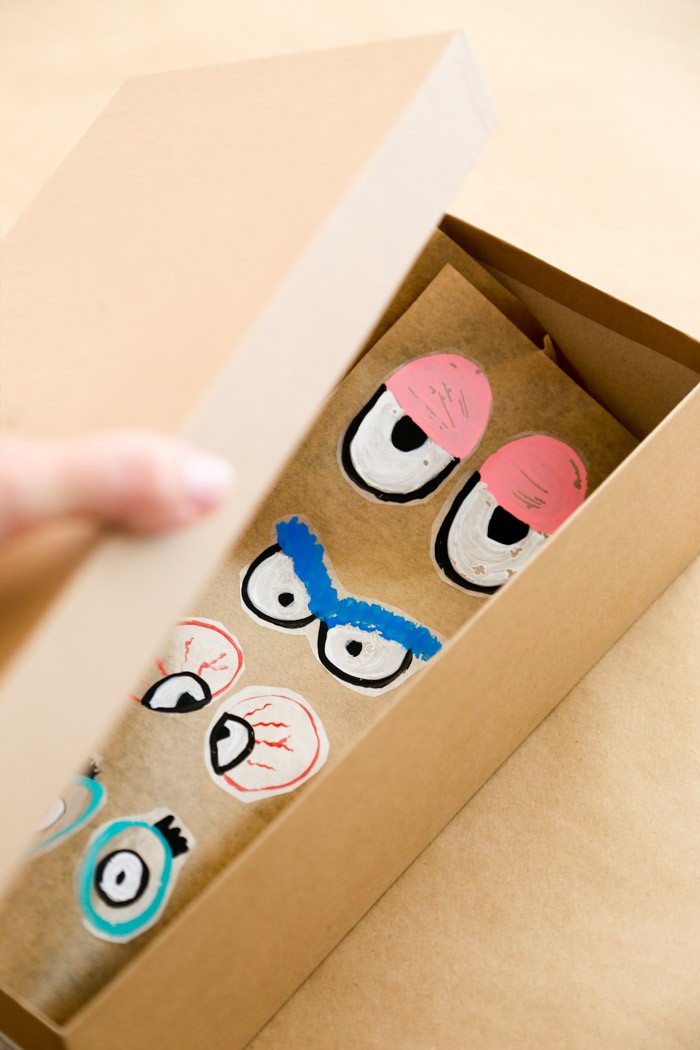
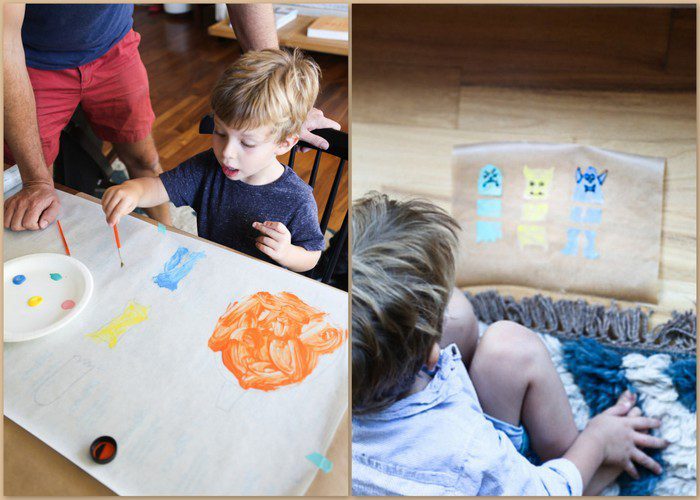
4. Cut out your shapes. In addition to the pumpkins and features for decorating them, I also cut the monsters Hudson painted into three pieces each—to be mixed up and recombined like a puzzle. (I drew the faces on with a pen, after the paint had dried.)
You can cut your shapes and apply them directly to a glass surface, or you can save them on wax or parchment paper for later. We stored ours in a shoebox, for bringing along on car rides.

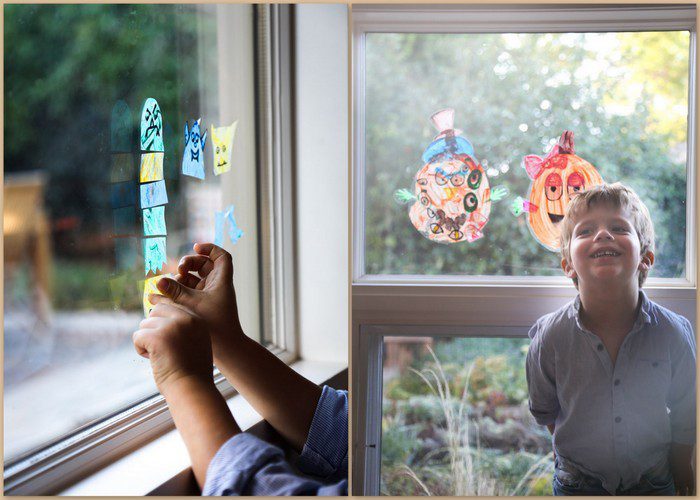
5. Have fun! These are very easy to make, so don’t be afraid to get creative. Just keep in mind: for the image to be clear from both sides of the window, you’ll want to create something with a single layer. In the case of our car activity, because the face is stuck on top of the pumpkin, it will only be visible inside the car whereas only the pumpkin will be visible outside of the car.
Such a simple way to keep kids entertained—and looking out the window—in the backseat!
What are your favorite activities for road trips?
![]()
This content was created in partnership with Ford to help make creativity a part of every drive.
P.S. Find the entire series of backseat activities created in partnership with Ford.


14 Comments